In all thy ways acknowledge him, and he shall direct thy paths. ~ Proverbs 3:6

Tuesday, December 23, 2014

DIY Baby's First Ornament - Foot Print


This morning I posted about our DIY hand print ornaments.  Tonight I want to 
post about our DIY foot print ornaments!

I got this idea from my sister.  She saw it online and sent it to me, and I thought it looked easy and cute.

Basically, I just made foot prints out of a dough, baked it, sprayed it with a finishing gloss and tied ribbon to the finished project.

Here’s how I did it:

The dough is equal parts flour and salt mixed with water.  I had more than enough dough with half a cup of salt and half a cup of flour.  I added the water slowly until I got the dough the texture of play dough.  I added blue food coloring once I had the mixture turned into a dough. I then divided the dough and rolled it into two ovals, the size of my little guy’s feet.  Then, I made the foot prints.  Using a butter knife, I cut around the foot prints.  Next, I baked the footprints for three hours at 200 degrees on a cookie sheet covered with foil.  Lastly, I sprayed the baked dough with a gloss finishing spray to give them a finished look.  I had some in the house, so that is what I used.  If I had a sparkle finish spray that would have been pretty too.  Because I have to babies, I used a paint marker to put names and dates on the back of the ornaments before hanging them on the tree!

We bought the boys their first Christmas ornament when we put the tree up, but I couldn’t resist making these fun ornaments too!  I love how these turned out, and I love that the bottom of our tree is full of our little guy’s ornaments!  Plus these didn't cost me anything to make, because I already had all of the supplies in the house!

Here are a few pictures from this fun project!


DIY Baby's First Christmas Ornament - Painted Hand Print Bulb


It’s the week of Christmas, and the hubs is home from work!  When I told my husband I planned a fun family activity for us this morning that involved baking and paint, he didn’t sound too thrilled, but it turned out to be a lot of fun!

I have been wanting to make the babies Christmas ornaments out of their hands and feet.  Because the twins are so wiggly, I knew I would need a second person to help me, which is why I waited until Matt was home to help with this craft.

The first project turned out….welll…not the greatest!  Let’s just say it looked a lot better on Pinterest!  But as Daddy said, “At least we made memories!”


So Basically, I just painted the babies hands and attempted to make their handprints on a clear glass Christmas bulb.  I painted on their hand with a small sponge paint brush, wrote their names and the year with a paint marker, let it dry and made a bow out of ribbon and hung it on our tree!  

You could use any color paint you like, I just used what I had in the house. You could also fill the bulb with tinsel, glitter or craft snow.

Clean up is easy with baby wipes and a grocery sack for trash nearby, and organization always make for easier projects!  I always like to have everything ready before I begin, including the paint squirted out on a paper plate.

The best part about today’s craft is that I didn’t have to buy anything.  Using extra clear bulbs I already had, and extra Christmas ribbon and acrylic paint from my craft closet, I was able to make this project on the fly!

As you can see, it didn’t go quite as planned….
Aaron was not too thrilled with this project….

And his hand print showed it….

It is sort of sorry looking, isn’t it?  Haha, oh the Christmas memories we will have for years to come!  I really thought about redoing it, but the paint dried fast and Daddy said it was perfect just the way it is!
Ethan did better….

There were no tears from him….

But we still did not get the best print from him either.  The babies just moved way too much to get a good print, but oh well!  This proud Mama is still displaying them on our tree!

A blog post about their DIY foot print ornament coming later this evening!


Monday, December 22, 2014

NO-Sew DIY Christmas Onesies - Bow tie and Suspenders

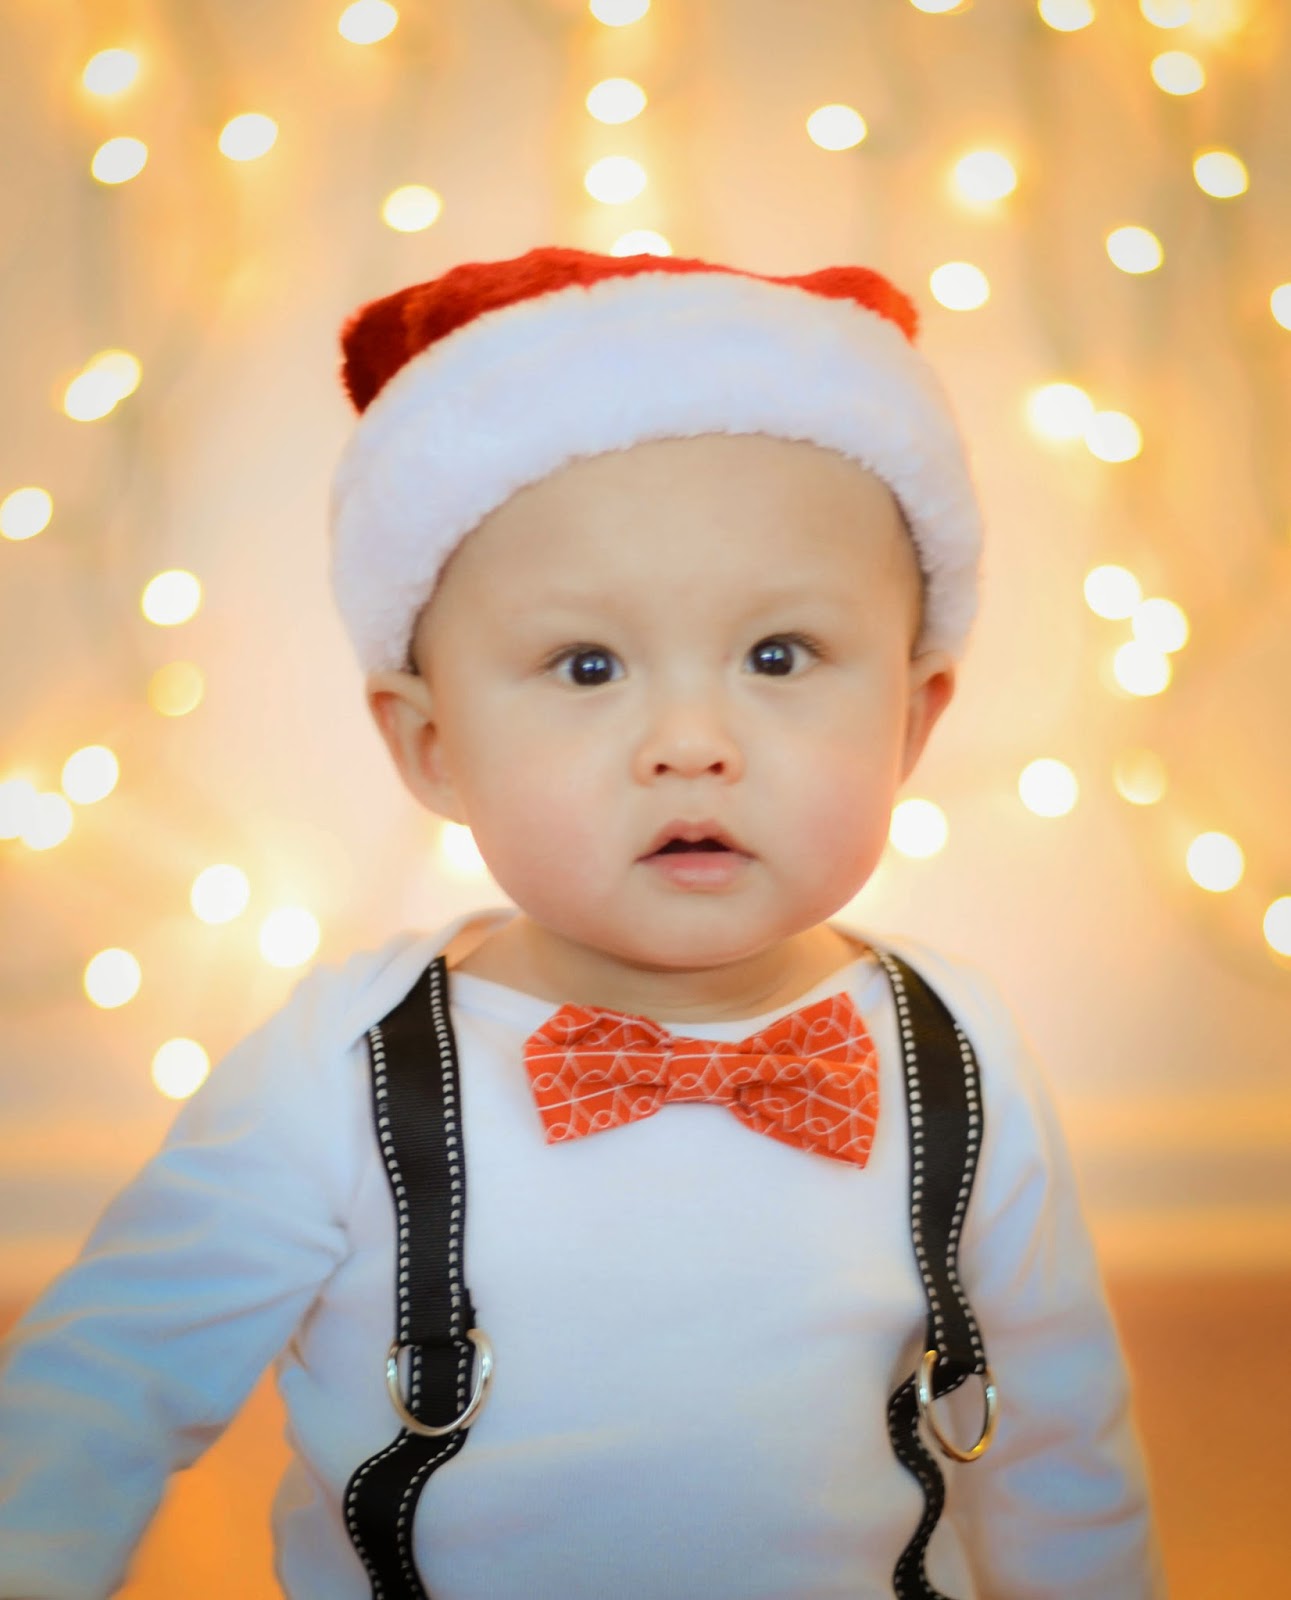
This morning, I shared this post about our family Christmas photos.  Tonight, I want to share how I made the outfits for the babies.  Using a white onesie, I was able to get my craft on and make cute no-sew DIY bow tie and suspender outfits for my little men.  To complete the Christmas outfits for their photo session, I added an infant Santa hat, found at Hobby Lobby for $2.99, and the red and white leg warmers I used in the babies' Thing One and Thing Two Halloween costumes, seen here.

To make my onesies, I used two plain white onesies.  You can find them in packages of three at any department store for $6-7 a pack.  I found gently used ones at a consignment sale for $.50 each.   For the suspenders, I found ribbon at JoAnn Fabric that looked like it had stitching on the edges.  I also bought a pack of buckles from Hobby Lobby.  I always try to get things on sale at Hobby Lobby or use the weekly coupon, which is can now be easily accessed through my Hobby Lobby mobile app.  For tho bow ties, I used a piece of  clearance quilting fabric for a $1 from JoAnn Fabrics.  I bought two different kinds of red fabric, because I wasn't sure which pattern I would like best.  Heat and Bond, an iron and ironing board, and a hot glue gun were also used for this project.

To start, cut four pieces of ribbon to fit each onesie, two short pieces of ribbon and two long pieces of ribbon. Take the shorter ribbon and attach the metal buckles to the ends of the two pieces of ribbon, securing the ribbon around the buckle by using Heat and Bond.

Once the metal buckles are secure, position the two pieces of short ribbon on the onesie and attach it to the onesie using Heat and Bond.

Be sure to leave a little room at the bottom of the short ribbon for the longer ribbon to slide under the buckles.

Using Heat and Bond, attach the longer ribbons to the onesie, and then secure the ends of the shorter ribbons on top of the longer pieces of ribbon.

To make the bow ties, I followed this easy no-sew tutorial.  I hot glued my bow ties to the onesie, since I was only using them in photos.  I think the tutorial said she safety pinned her bow ties to the onesie, since she was only using hers for pictures.  Of course, any part of this outfit could be sewn to make it more secure for washing and wearing multiple times.  If I were to sew this to be worn multiple times, I would probably not put on the buckles.  I know my little guys, and it would be the first thing they would pull off.

Here are the finished outfits being used in the babies' Christmas photo session!  I think they turned out great and are adorable on my little guys!  


.

All professional photos were taken by KINGFISH Photography and may not be copied or printed without permission.

Our 2014 Family Christmas Pictures


Happy Monday to the blogging world!  How is it already the week of Christmas?

My sweetheart has the week off of work.  That means that for the first time in a long time, I am able to sit down with my computer and get a blog post up, knowing that I can probably start and finish this post in one sitting!  That rarely happens these days!  My little guys are keeping me busier than ever now that they are moving all over the place!

I wanted to share a few of our family Christmas pictures on the blog today!  There were so many good pictures of my little guys, but here are a few of my favorites!


All pictures were taken by KINGFISH Photography.  If ever in the Indianapolis area, I highly recommend their work.  Dave has always taken great pictures for us!  You can find them on Facebook for more information.

All photos were taken by KINGFISH Photography and may not be copied or printed without permission.

Tuesday, December 16, 2014

Parenting Twins - The First Year (Month Eight)


These monthly posts get later and later all the time!  The twins turn nine months in six days, and I am just now getting the eight month update posted!

I’ll make this post short and sweet.  The biggest update is that the boys went from barely being able to sit up at the beginning of the month, to being mobile by the end of the month.  It happened fast!  We started the month off by surrounding the boys with pillows while sitting to help soften their falls.  By the end of the month, they no longer needed pillows and were scooting their way all over a room.  Aaron led the way with mobility, and Ethan soon caught on and joined the fun!  At the end of the month, neither had mastered crawling, but they could definitely get around by scooting on their bellies and butts. 

We also entered the cold weather season in the eighth month.  With the cold weather came sickness.  We battled both croup and sinus infections this month.  We also found ourselves being cooped up inside now that it is cold outside.  I really miss our daily walks outside!  I don’t know how I’m going to stay sane this winter.  I definitely noticed that I run more errands now that it is cold.  I’m always looking for an excuse to get all of us out of the house to help break up our day.

In other random news:

We began cloth diapering this month when we are home, and it is going very well…..  

The gap in the babies’ size is also expanding, as Aaron loves to eat and Ethan practically has to be forced to eat.  At the end of the month, Aaron was 19 lbs, and Ethan was 16 lbs 13 oz…..

Ethan had five teeth by the end of the month, while Aaron still only has his bottom two teeth…..

Both said their first word this month, Dada.  Aaron was the first to say it, and Ethan soon followed.  By the end of the month, both babies could say Mama, baba, and Dada.  I don’t think the babies can associate what they are saying with anyone or anything yet, but they are saying words….

Here are a few pictures from month eight…..

Week Thirty-one


Week Thirty-two


Week Thirty-three


Week Thirty-four